How to setup Email forwarding for Google Domains
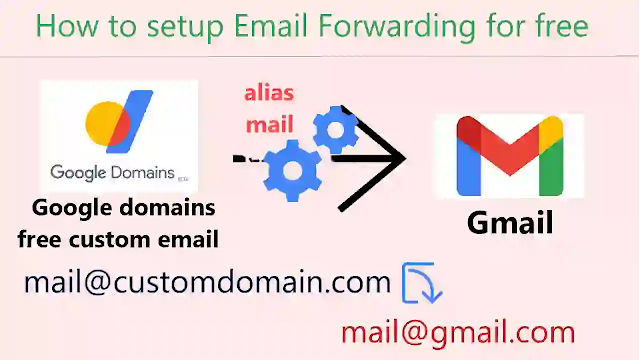
Google Domains offers us
free email forwarding for 100 emails. You can use it for free.
The below method is only for those who using
Google nameserver. If you are using custom name server then see
this ->
https://support.google.com/domains/answer/9428703/set-up-email-forwarding-with-custom-name-servers
Google domains is now sold to squarespace domains. So all existing domains will move to squarespace. After completely moved all google domains to squarespace, domain renewal price in squarespace will vary and also new buying domain price will be high than google domains.
Walkthrough of procedure:
Adding Email ID in Google Domain for Email forwarding
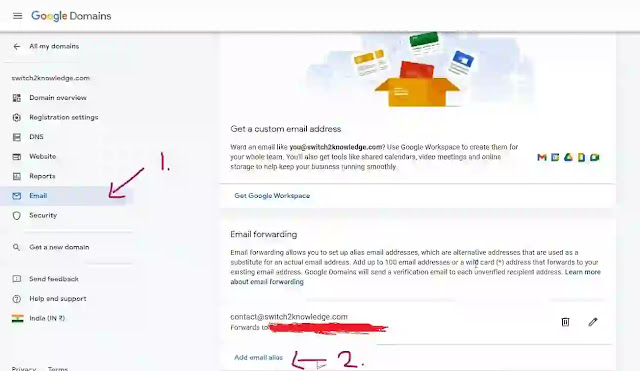
- Go to your Google domain name registrar.
- Click the left side menu, you can find Email. Click on it.
- Scroll down and click Add Email
- Create your custom email id name i.e alias name. And add your original Gmail id in the next box.
- After that you have to verify the original email you added. Check your mail and verify the mail id then only email forwarding will work.
Creating App password for Google account
- Go to your google account settings of the email you added.
- Go to security tab and check if 2 step verification is enabled. If not means, enable it.
- After enabling 2 step verification only you can see the App password option in your security tab.
- Click the app password. Enter your google account password to proceed and then select the app as mail and device as other and enter your custom email id (Eg: you@yourdomain.com) .
- Then generate your password and copy and save it in notepad.
Connect your Gmail to Custom mail id
- Open your Gmail for the original mail you added in desktop mode.
- Go to settings and all settings in Gmail.
- Then go to accounts and import tab.
- Click add email option which is shown below.
- Type the name as your wish (this name is shown in the Email as your name when you sent a message). Then Enter the custom mail you created.
- Then click next and set the smtp as smtp.gmail.com and port as 587, then enter the username which you sign in (your original mail id) and enter the password that we generated in the app password.
- Then click next and enter the verification code that is sent to your original mail id and click ok. Then there is a link in the first of the mail you received, click the link or copy and paste the link in your browser.
- We have done almost everything. But there is few steps remaining to increase the proper working of the custom mail
Creating filter for your custom mail id
- Go to your Gmail settings. Go to accounts and import tab. Under send mail as, you need to select the radio button as "Reply from the same address the message was sent to"
Also Read
*How to choose best domain name registrar to buy a domain
*How to search in Google like a Pro
*How to choose best domain name registrar to buy a domain
*How to search in Google like a Pro
- Then go to filter tab. In that area create a filter and add the to address as your custom email id and select create filter.
- After tick the check box "Apply the label" , create a label and name your label as your wish (for eg: you can name your label as your custom email id).
- Also tick the check box of "Also apply filter to 1 matching conversations" (last check box)
- Then press create button. Go back and refresh the page. Now you can see the label you created will be visible in the side menu and also you can see the same label in the mail you received for the custom email address in the inbox.
Finally
- When you send a mail you can toggle the mail ids in the from address area. You can select which mail id you want to send mail in the from address area either custom mail id or your original mail id.
- Don't remove the app password you created for your account. You can see in your google account that security issues showing something about your app password. But you don't remove it, then only you receive the mail from your custom mail id.
- That is all about email forwarding. You did it.
- Try and test your email forwarding by sending a mail from another mail id to your custom email id.
-----------------------------------------------------------------------------------------------------------------------------
Last Updated on 14th November 2021, 1:00 PM IST


Share with your friends
ReplyDeletePost a Comment